Knowledge Base Bottom toolbar functions
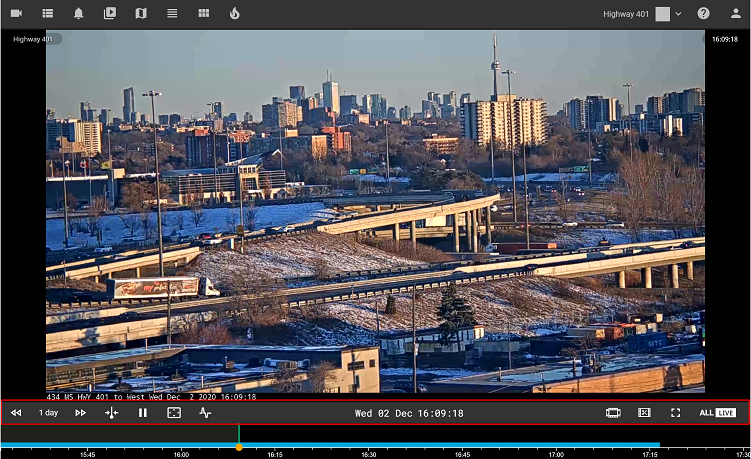
The bottom toolbar holds two sets of tools. The first set controls the selected camera timeline, the second set controls all cameras on the screen.
 Jump back in the archive by the selected time interval on the selected camera.
 Press on the time to open the popup menu to select the time interval. This will also change how much of the timeline
![]() is visible.
is visible.
 Jump forward in the archive by the selected time interval for the selected camera.
 Press on this button to center the timeline on the scrubber (current playback position of the selected camera).
 Pauses all cameras on screen, if all cameras are on pauses then this button will resume playback for all cameras.
 Synchronize the playback position of all cameras that are currently on the screen to the main camera (camera with the green border around it).
 Press on the date or time to open the calendar. From it, you can select the date and/or time. You can switch between date and time tabs to select the desired moment then click on OK to start playback from the selected moment.
 Open Thumbnail Grid for the selected camera to visually search for an event.
 Start creating a clip for the selected camera. Once the clip is created it can be either downloaded or shared from the Library.
 Open video portal full screen. This will hide all of the browser toolbars maximizing the viewing area.
 Set all cameras to show a live stream.